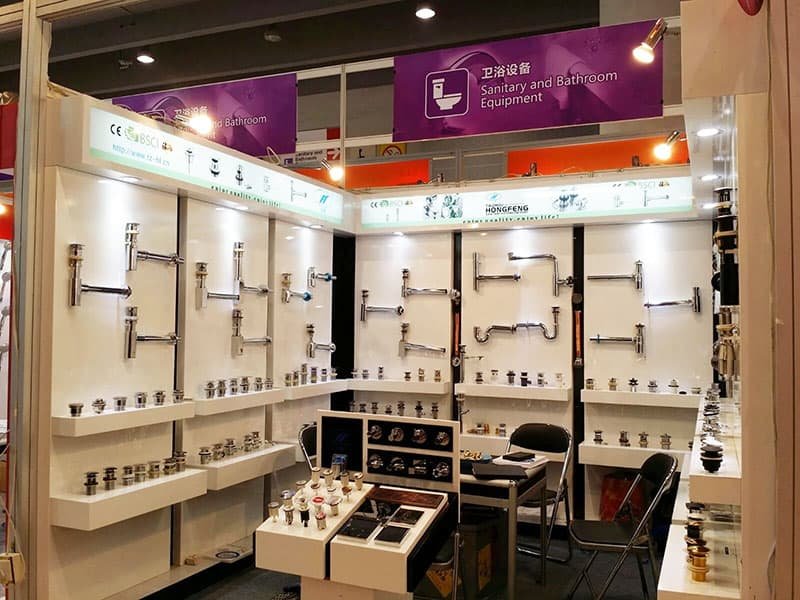
OEM Basin Waste Solutions From China
- Low MOQ with Free samples
- Free Design and free tooling
- 30 days of the lead time
- Finish are with salt-spray test approving
- Free artwork design and free colour box
- Free 3rd party inspection
- All information is secure and confidential.

Customize Waste Drains Solutions
- The MOQ of 300 pieces is the beginning of color box printing
- Free samples exist and free shipping for reference
- Free drawings design and artworks design less than 7 days.
- Custom brands and OEM logo are available,
- Premier solid brass with threaded connection
- Free Inspection report (QC report) same as the 3rd party provides.
- Provide One-stop solution of sanitary ware parts
MOQ | 1000 units with colour box print |
Size | 1-1/4″,1-1/2” and customized |
Material | Copper,Brass and stainless steel |
Details | Made in China from Hofen sanitary |
Function | The Hofen basin waste is a must-have for any modern bathroom. Its sleek design and durable construction make it the perfect choice for stylish homeowners. making it the perfect addition to your home. Hofen’s basin waste is perfect for quickly and easily draining away water from your basin. Its simple design makes it easy to use |
Finish | PB,CP,SN.VB,ORB,PVD,SNPVD finish |
At any point, you fit a sink or basin. You will like need to fitting a basin waste. The section of the part clears wastewater from the basin. Basin wastes should have the option to sewer water without flowing.
I stroll you over what you will have to apt a leftover basin and ensure it. I will tell you through different techniques. Make sure that you select the right junk for your sink and keep away from leakages.
Fit new basin trashes to prevailing drains are vital. Wastes will quite often crumble quicker than the encompassing sink. It looks so awful that they diminish your restroom’s style. Sometimes, they can apply, or the stoppers can come up short, leading to leakages.
Featured Basin Waste Stopper


Water Stopper Manufacturer FAQ
Yes, as long as you provide the dimension drawings or just simply tell us your requirements, we will make few samples for you to check.
For the modified product, a sample would take a week to make. After sample verification with clients, the production time for bulk order will take 20-30days depends on the quantity.
Yes, warmly welcome to get some samples from our factory. However, we only offer free samples, you need to pay for the cost of freight. But we will refund the cost after you order mass production.
We guarantee our products for 3 years. Our mechanism spring lifetime is about 80,000 times.
For stocked items, it will take a week to dispatch , otherwise better allow us 20 days to prepare.


Request Your Free Waste Drain Solutions Quote Now
We will provide you with a free quote within 24 hours, and we respect your privacy.
How to fit a Basin Waste
At any point, you fit a basin. You will like need to install a basin waste. The section of the unit clears wastewater from the basin.
Outline:
- An Introduction
- Tools You Will Must
- Material that you require
- Eliminating Your Old Basin Waste ( 4 Steps)
- Fitting A New Basin Waste ( 7 Steps)
- Summary
1. Introduction
At any point, you fit a sink or basin. You will like need to fitting a basin waste. The section of the part clears wastewater from the basin. Basin wastes should have the option of sewer water without flowing.
I stroll you over what you will have to apt a leftover basin and ensure it. I will tell you through different techniques. Ensure that you select the right junk for your sink and keep away from leakages.
Fit new basin trashes to prevailing drains are vital. Wastes will quite often crumble quicker than the encompassing sink. It looks so awful that they diminish your restroom’s style. Sometimes, they can apply, or the stoppers can come short, leading to leakages.
Mechanical problems can be like torment waste because of the multifaceted systems. Numerous basins apply to associate with waste discharge tools on the basin’s valves. Therefore, realizing how to fitting new ones is a specific need.
Tools you will require
- Large grips
- Bucket
- Plumber’s putty
- Cleaning Cloth
- PTFE Tape
- Sealant Gun
- Large adjustable spanner
Material that you require
- Sprung assembly or pop up
- Basin waste assembly
Fit a New Basin Waste:
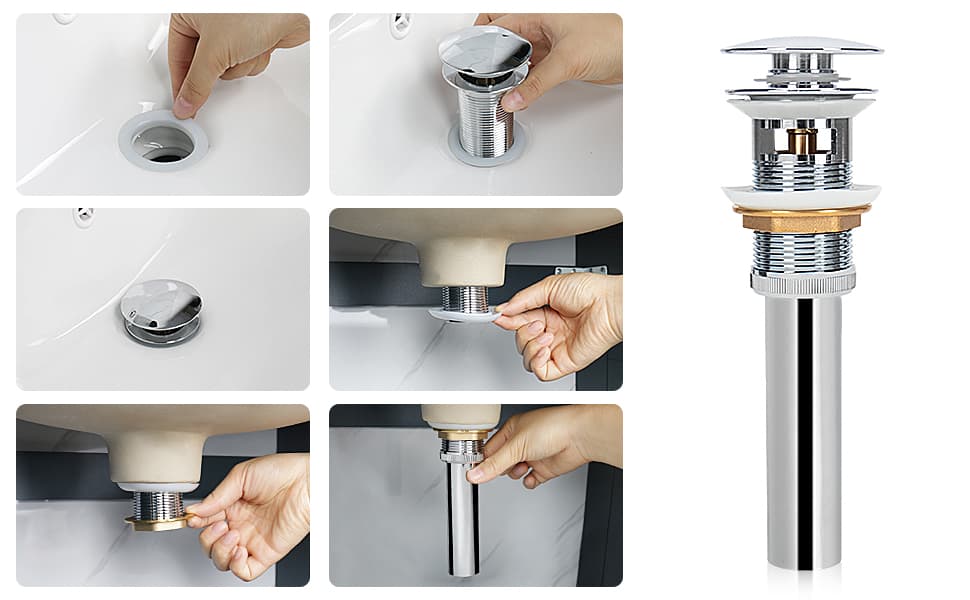
Subsequent is a systematic guide, telling you accurately the best way to fit an opened basin waste.

Stage 1: Use Plumber’s Putty
If you don’t have any idea, Plumber’s clay is a kind of moldable sealant that is helpful in an extensive type of use that includes interfacing plumbing tools. I will utilize this situation to shield the basin’s fine china from the edged corners of the opened basin waste.
Begin by getting some repairperson’s clay in your grasp. Move it into a wiener frame so that it’s sufficiently wide to fitting about the bottom edge of the sink trash that gets into touch with the sink. Form it about the edge, creating a point to cover every fine edge.
If it’s not too difficult, see that you do not matter the handyman’s clay to stop leakages. It is a way to avoid sink damage during fitting. You lock utmost sink trashes utilizing a poly washer and a bolt.
 fix leakage of bottle siphon
Stage 2: Mark the Thread By PTFE Tape
Indeed, also with the fitted bushings, the basin trash might spill. Along these lines, it assists with using a PTFE strip around the string that will get into touch with the last point of the bolt.
Loosen if you don’t know exactly where this is. Apply a tape band around the logical area of the nut once you introduce the loss in the sink. Three turns of tape about the trash frame should do the trap.
 fix toilet trap
Stage 3: Fix The Basin Leftover in the Basin Drain
Then, get the sink trash and addition it into the ewer flow, ensuring that the repairperson’s clay comes into touch with the basin, making a film within the china and metal.
Try to stay away from silicone tapes. Silicone will, in general, go hard after some period, and it is muddled to utilize

Stage 4: Adjust the Nut and Poly Washer
The following stage is to get the basin channel into position utilizing a nut and poly washer. Observe the area of the PTFE strip. It ought to stretch out into the basin’s drain. The tape is to retain water from moving down between the nut and thread once fitted.
Then, slip the poly-washer over the sink waste, trailed by the bolt. Once adding these parts, make sure that you string them in the right direction. A few makers make mixed nuts and washers that likely work when handled the right way.
Screw the nut until it comes into touch with the poly-washer. Considering that turning the washer moves the trash fixture, it usually means you have an extreme measure of PTFE. If you have so, basically eliminate a couple of tape films and try once more.

Stage 5: Fix The Nut
Meanwhile, the bolt is flat toward the poly-washer. The following stage is to fix the nut. Maximum excess congregations accompany flexible bolts, so you should be cautious with the materials you apply and the tension you employ. Being too strong could harm the nut.
Utilize your enormous grasps to fasten the bolt and then fix it clockwise. It would help if you had the bolt to use sufficient power to make the poly-washer water-tight, yet not too much that it damages any fittings or surpasses their heap resilience.
If you don’t know whether the bolt is sufficiently tight (or excessively close), you can check the sink by putting a trickle plate on the ground and loading it with H2O. The sink ought not to lose.

Stage 6: Clear Extra Plumber’s Putty from around the Fit
How to use Plumber’s putty? The way of fitting the bolt will get down on the handyman’s clay, making some of it overflow out of the drain. Just put your finger or cloth and remove any excess.
Stage 7: Outfit Back on the Leftover Snare
At last, attach the leftover sink part to the waste snare, fixing the elastic O ring first before fixing the nut. Test the gathering to make sure that it is water-tight.
Eliminating Your Previous Basin Leftover:
In most conditions, you will fit another waste basin without any preparation. It could happen when you redesign a lavatory and put in new sinks. Nevertheless, as a reference, you need to replace a current waste with another one in some cases.
This is what to take:
Stage 1: Turn Off Your Water Source
When you perform a plumbing task, it is safe to turn off your water source. It will help prevent water from flooding your bathroom if it is above.
Stage 2: Unfasten the Basin Snare
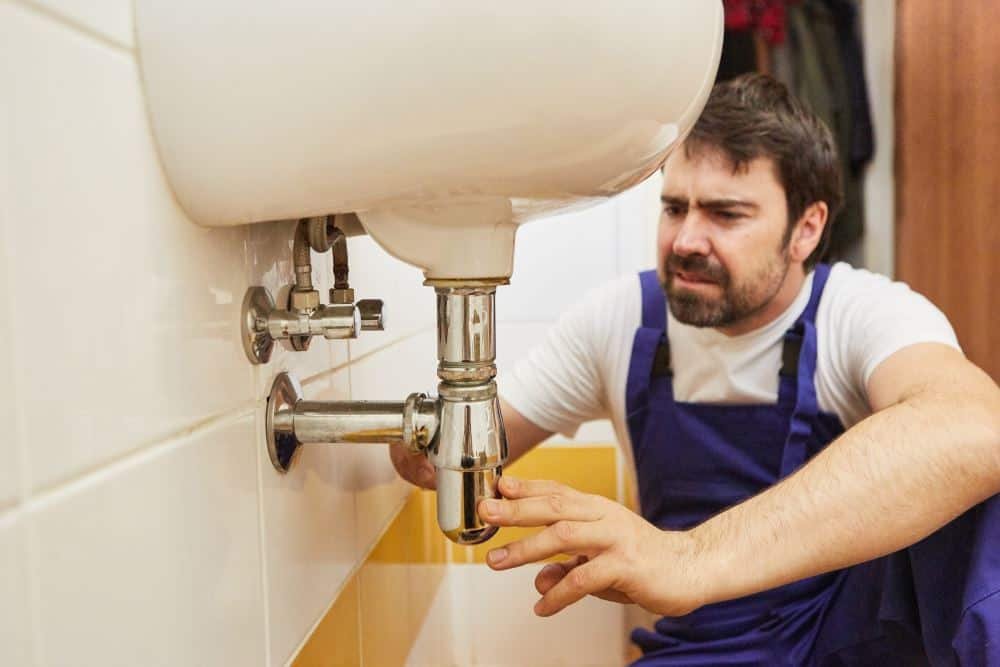
The following stage is to unfasten the basin snare, the sort of S-molded line under the sink. Performing this sets the current waste free from the pipes, permitting you to cut it.
Unfastening the basin waste nut by hand is difficult, so use your big holds to relax. Then, at that point, when it’s free, unfasten it the rest of the way.
When you free the trap, be attentive to keep the going with an elastic seal somewhere safe. Check for any basement. If it looks degraded, displace it with an elastic O-ring of similar detail.

Stage 3: Separate the Waste
When you end the snare, you will see a massive nut on the bottom of the basin. This fitting holds the waste in extent.
Remove the nut with your grippers; be mindful not to apply extreme force if it can make plastic. The nut ought to rest, permitting you to unfasten it the remains of the way.
The prior installer fitted the nut using silicone if it’s not too difficult. It very well might be hard to remove. Assuming you are experiencing difficulty, catch the nut with your grippers. Then change to and fro. Try not to drive it.
When you remove the nut, remove the elastic washer and remove the whole waste gathering from the highest point of the basin.
Stage 4: Clean Up Any Residue
Check the opening in the basin and drop any grime, silicone, gunk, or waste material.
Final Words
Fit a sink waste is comparatively simple once you understand. Primary wastes are simple to work with and do not include any problematic fiddling. If you exclude actual waste, be assured to set a basin on the area to avoid leakages. If you have a fitted leftover, always position it to connect the excess overflow pipe.
Get Free Samples
- All information is secure and confidential.


