
The IKEA Dalskar bathroom faucet, like most of the company’s products, is crafted to be very simple to install. Although the accompanying instructions are in image form only, this tutorial will guide you step-by-step through its installation process and help supplement what you can find in the manufacturer’s instructions.
The Dalskar bathroom faucet kit is straightforward to assemble, containing an effortless amount of components. The practical tools included allow for quick and straightforward tightening. At the same time, the hot and cold water supply hose ingeniously connects directly to the base of the faucet – making installation a snap! In other words, you don’t need additional materials or experience to ensure your new faucet looks flawless in no time!
What You’ll Need
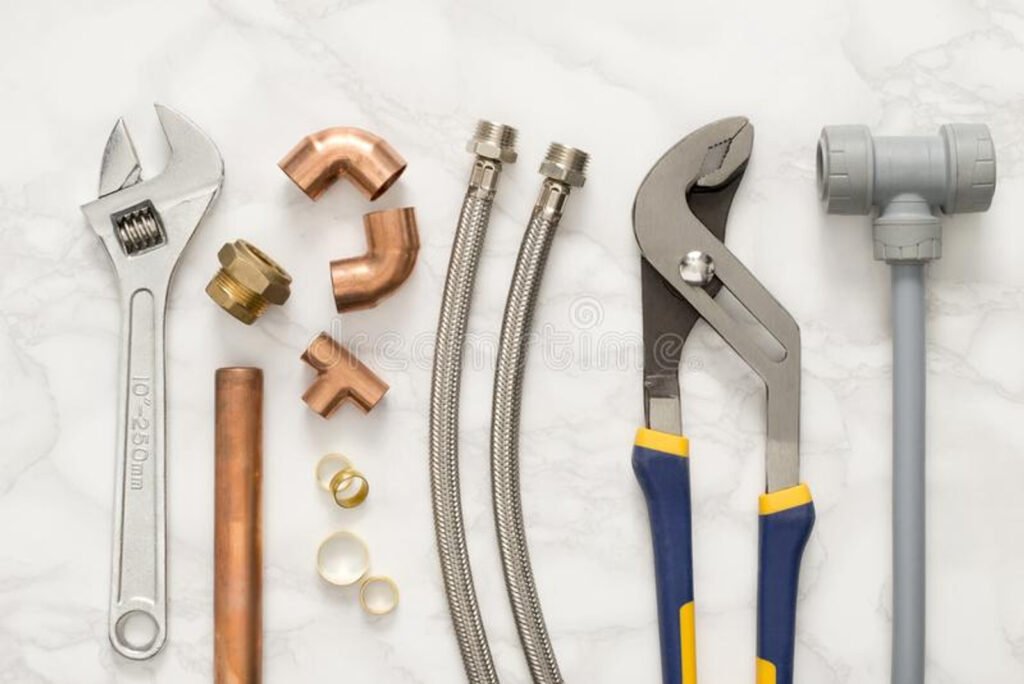
Equipment / Tools
- Channel-type pliers
Materials
- Dakar bathroom faucet
- Pipe-joint compound
Set the Faucet in the Sink
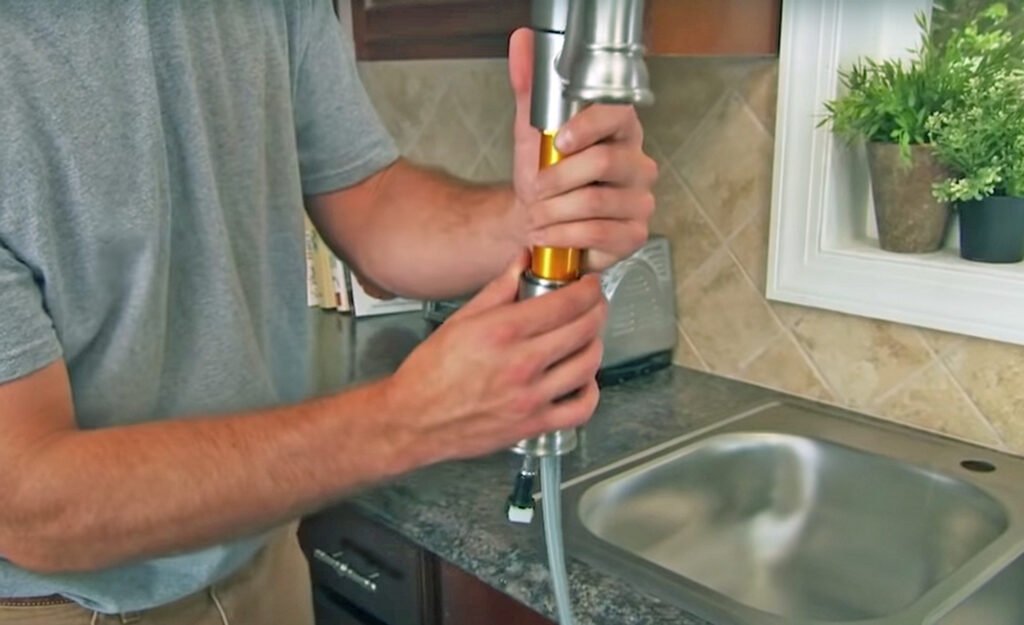
Installing a faucet in the sink may seem daunting, but following some simple steps can be done in no time.
- First and foremost, you’ll want to fit the O-ring on the lowermost part of your faucet snugly. This little ring is significant for preventing water from seeping underneath the faucet, causing potential damage. Once that’s secure, place the faucet above your sink hole and spend a few extra moments ensuring it’s centered evenly, as an askew faucet can detract from the aesthetic of your sink.
- Don’t worry if you don’t have a plumber s putty available; installing a faucet is unnecessary, so leave it out until you get your hands on some. You should be good to go with all these steps completed and double-checked for accuracy!
Secure the Faucet to the Sink

Securing the faucet to the sink is quite simple once you break it down into steps.
- First, position the U-shaped rubber washer beneath the sink with one end pressed against the faucet and surface. This will help ensure a good seal and create a reliable connection between the two.
- Once that’s in place, grab your brass nuts and get ready to go wild! Okay, maybe don’t get too crazy – tighten them up until they’re snugly in place.
- Snug like a bug in a rug…really make sure those bad boys are nice and secure, so you won’t have any troubles down the line. It won’t take long – before you know it, you’ll be on to your next project!
Hofen tips

Many installation kits come with an Allen wrench for unscrewing or screwing the handle. After pushing the button from behind the handle, you can finally use your Allen wrench to finish this task.
Attach the Drain Assembly
Installing a Dalskar faucet doesn’t have to be a complicated affair. It’s designed with a straightforward installation process that requires minimal effort.
- Locate the faucet to drain assembly, which you can quickly identify by the upper flange and push-pull pop-up mechanism.
- Next, detach the sticky paper from the foam gasket and adhere it under the flange.
- For an extra secure seal, you can always opt for a plumber’s putty instead of the foam backing – either one is sure to feature a tight fit that won’t result in any drainage leaks over time.
- Allowing just enough space for any trapped air or water droplets to escape is critical for a successful assembly. Ensure you give the whole structure enough wiggle room before finally securing it.
Apply Sealant on the Pop-Up Gasket
To ensure a reliable seal, consider applying a thin layer of fitting compound to the rubber gasket. This step is not mandatory but can help strengthen the connection.
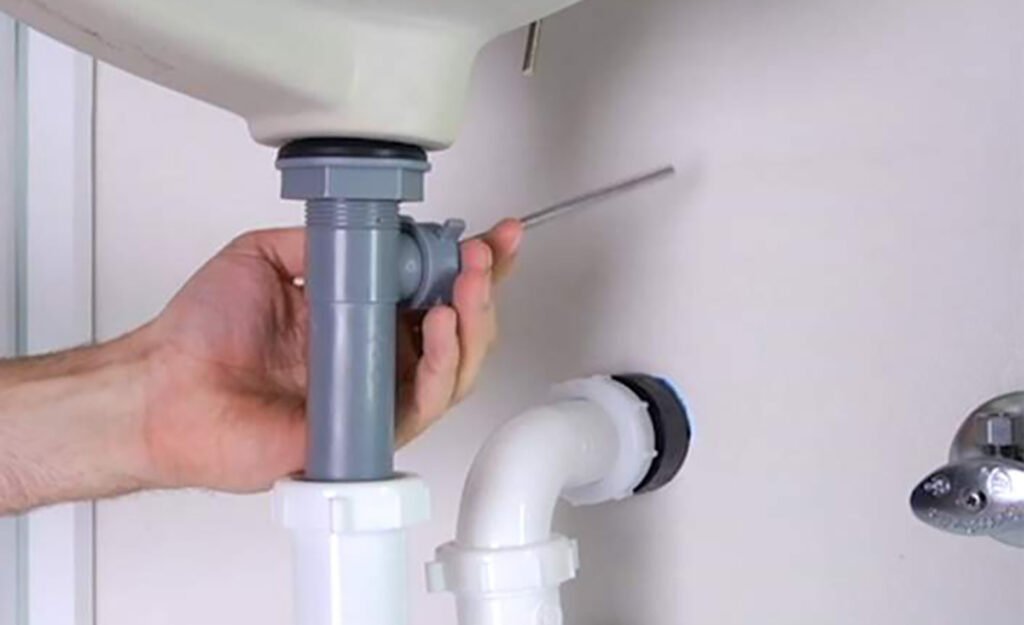
Fasten the Pop-up Drain
Fastening the pop-up drain to your sink is a must for any bathroom remodel. Think of it as the cherry on top of your downpour daydreams – without it, all those shiny tiles and adjusted angles would be going down the drain! The process sounds daunting, but don’t fret: properly settling a pop-up into place is only five steps away.
- You’ll need the Allen wrench provided in the hardware receptacle. Insert and fasten that top flange securely into position, centering it correctly over your drain before anyone gets their hopes up too high and starts tightening bolts.
- After that’s complete and good, it’s time to flip things upside down; each bolt should be tightened from above.
- And then there was light- or just water control. Finish this flawless faceoff with a plug installation so secure even Poseidon himself won’t know what hit him!
Successfully installing a pop-up panel takes patience and confidence-but, if you follow these simple steps, these blessings will take little time!
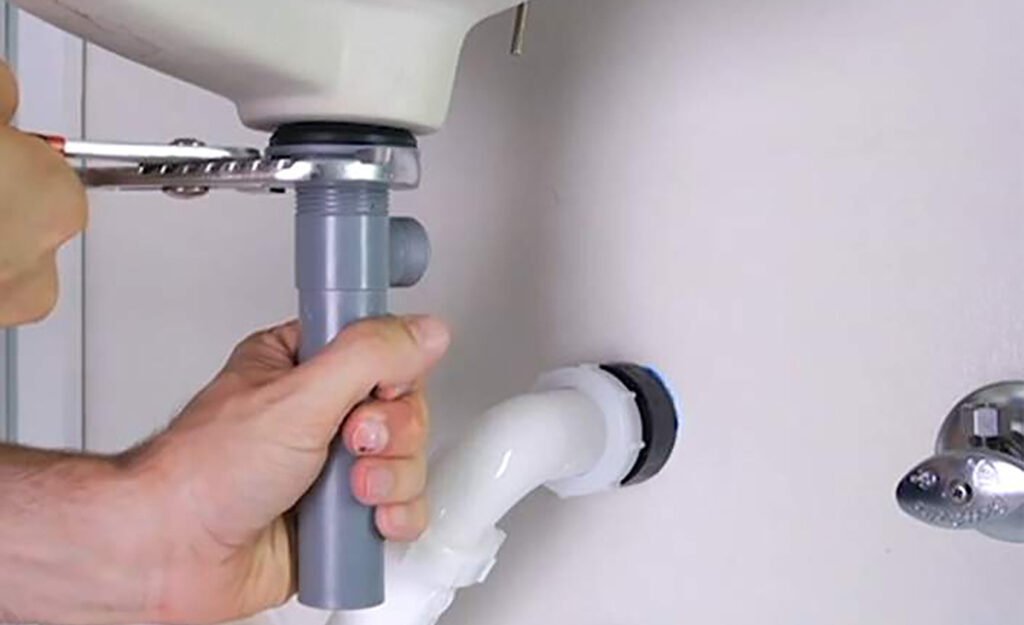
Install the Tailpiece

- Installing the tailpiece of your drain assembly is the final step in installing a sink, and it’s not usually as intimidating as one might think. The secret is making sure you put the rubber washer in – because, without that, your bathroom will be drippin’ all over the place!
- Once the washer is firmly sandwiched between two metal pieces, tighten the nuts with your hand until snug. This process should feel familiar if you’ve ever previously fixed or installed a standard 1 1/4-inch bathroom faucet tailpipe.
- And don’t be afraid to turn up that Torque basin wrench if needed—the last thing you want is to have everything slowly slip apart over time!
Hofen tips

Keep the additional parts that come with your faucet installation! They are included for future maintenance and service, so hang onto them just in case.
Finish the Hookups
Hooking up a bathroom sink has sure come a long way. It used to be that you needed to attach the drain hose or hook up the water supply lines, but it’s gotten quite intricate over the years. Here’s what you need to know to tie up all those loose ends and finish your hookups!
Attaching the Drain Hose
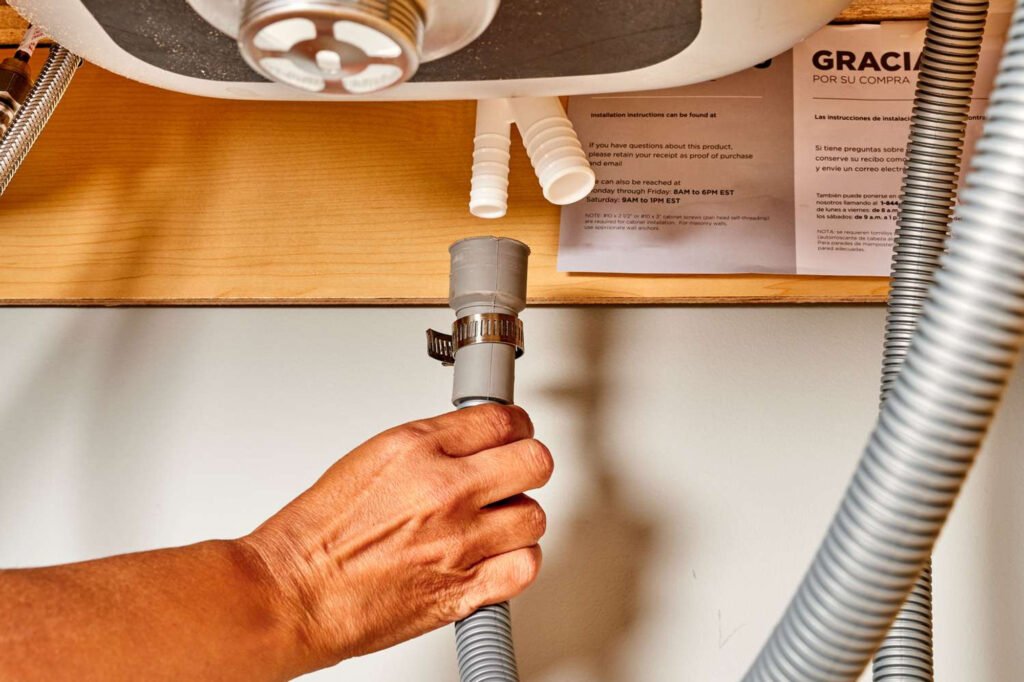
- Attach your drain hose at the back of your P-trap with whatever hardware is needed. Make sure that it fits snugly, and try twisting the parts together like fitting puzzle pieces!
- Once everything looks securely connected, double-check that you have a good seal – remember, you do not want any sneaky sink water escaping out here!
Securing the Faucet Supply Pipe

- With this part, link up your faucet supply pipe with a shut-off water valve below the sink. Keep in mind to only tighten so much as you don’t want to risk damage due to stripping threads of the pipe material.
- Give it some muscle by hand, and then give it one more turn with an adjustable wrench or pliers if necessary. With safety first in mind, also make sure that after taking care of these two steps, open up the water valve and inspect for any possible issues like leaks or corroded parts – things are gonna get wet around here, so don’t swear off repairs until everything is thoroughly checked out!
Tying Up All Those Loose Ends
- Now that your faucet is securely fitted and firmly fastened in place along with other adjoining pieces, observe any gaps present between fittings’ separations and use appropriate materials such as silicone caulk sealant or cement putty for added protection and tight finishes – which will ensure top-notch leak defense while delivering aesthetically pleasing points too!
- Remember – investing time into fixing one minor issue can significantly benefit your future tasks, downtick yard pipelines, and don’t skimp on any corners when it’s time to take care of business – sometimes, a tedious job can save you hours of headaches later.
- And that leads us to one final step… turn on your jet-setting taps one last time for another round of inspection checks before calling it quits for good – hallelujahs ahoy in euphoria-worthy victory dances – mission accomplished NOW let there be waterfalls from tap pipes!
FAQs

Q: What should I do if my connections start to leak?
A: If any of your connections start to leak, don’t panic! Just go back and make sure they are securely tightened. You may even want to apply sealant or putty between them for extra protection. If you still find it leaking after that, it could be a sign of corrosion, and you may need to replace the bathroom faucet.
Q: How do I know when I have tightened my faucet supply pipe enough?
A: When tightening your faucet supply pipe, only use hand-tightening until it feels snug. If there is still some slack, you can use an adjustable wrench or pliers to give it one more turn. Make sure not to over-tighten, as this could damage the threads of the pipe material.
Q: What kind of sealant should I use between my fittings?
A: Silicone caulk or cement putty are excellent materials for added protection and a tight finish. Apply them in the gaps between fittings to provide an extra layer of water resistance and a more aesthetically pleasing look.
Q: What should I do after installing my new faucet?
A: After everything is installed and secured, open up the valve and thoroughly inspect possible leaks or corrosion. Once you’re satisfied that there are no problems, turn on the taps one last time to ensure everything is in working order before calling it a day!
Wrapping up
Your new faucet installation is much like fitting together puzzle pieces – with a few extra precautions in place to ensure no water escapes; you’ll be satisfied knowing your bathroom will look sharp and stay dry! Good luck!
Hofen Sanitary is a go-to name in faucet manufacturing, with decades of expertise behind its high-quality products. Trust them to meet your needs and deliver the ideal fixtures for any bathroom project – visit our website today and start shopping!